Video editing is no longer a complicated process that requires advanced software and high-powered computers. Thanks to mobile apps like InShot, anyone can edit, enhance, and animate videos directly on their smartphone. One of the most powerful tools inside InShot is the keyframe animation feature. It allows you to create smooth motion effects, bring static elements to life, and add a professional touch to your videos.
In this guide, we’ll explain what keyframe animation is, how to use it in InShot, and share some creative ideas to make your videos stand out. Whether you’re a beginner or a casual editor, this step-by-step tutorial will help you master keyframes easily.
What is Keyframe Animation?
To understand keyframes, imagine you want an image to move across your screen from left to right. Instead of dragging it frame by frame, you simply set two key points:
- The start position (left side of the screen).
- The end position (right side of the screen).
InShot automatically fills in the motion between these two points, making the animation smooth and seamless. These points are called keyframes.
By using multiple keyframes, you can:
- Move an object around the screen.
- Zoom in or zoom out smoothly.
- Rotate elements.
- Create cinematic transitions between clips.
Why Use Keyframe Animation?
Here are some reasons why adding keyframes can make your videos look professional:
- Adds Motion and Energy – Instead of static images or text, keyframes make elements move dynamically.
- Enhances Storytelling – Pan across an image, zoom in on important details, or make text follow an object.
- Professional Look – Smooth movements make your video look polished, similar to what you see in professional editing software.
- Creative Flexibility – You can experiment with endless motion effects without needing advanced editing knowledge.
Getting Started with Keyframes in InShot
First, make sure you have the latest version of InShot installed from the Google Play Store or Apple App Store. Open the app and load a video or image you’d like to animate.

You’ll find the Keyframe tool in the editing toolbar. Look for a diamond-shaped icon—this is where the magic begins.
Step 1: Select the Object to Animate
- Choose the video, image, sticker, or text you want to animate.
- Tap on it so that the editing options appear at the bottom.
InShot allows you to apply keyframes to almost any element, which gives you plenty of creative freedom.
Step 2: Add Your First Keyframe
- Move the playhead (the white vertical line on the timeline) to the position where you want the animation to begin.
- Tap the Keyframe icon (diamond).
- A red diamond will appear, marking your first keyframe.
At this point, the object is fixed in its initial state.
Step 3: Add the Second Keyframe
- Move the playhead further down the timeline, where you want the animation to end.
- Adjust the object’s position, size, or rotation.
- InShot automatically creates another keyframe.
Now, when you play back the video, the object will move smoothly between the two points.

Step 4: Refine the Animation with Multiple Keyframes
You’re not limited to just two points. You can add as many keyframes as you want:
- For a zig-zag motion, add several keyframes with different positions.
- For a slow zoom in, space the keyframes further apart.
- For a fast movement, place them close together.
This flexibility lets you create unique and professional effects.
Step 5: Preview and Adjust
Always play back your animation after adding keyframes:
- If the motion feels too fast, drag the keyframes further apart.
- If it feels too slow, move them closer together.
- You can delete or adjust keyframes anytime by selecting them on the timeline.
Creative Ways to Use Keyframe Animation in InShot
Now that you know how to add and adjust keyframes, let’s explore some practical uses.
1. Smooth Pan and Zoom
- Use keyframes to slowly zoom into a subject during a vlog or tutorial.
- Pan across a wide photo to give it a cinematic “Ken Burns effect.”
2. Animated Text
- Make titles slide into the frame and exit smoothly.
- Create bouncing text effects for fun social media posts.
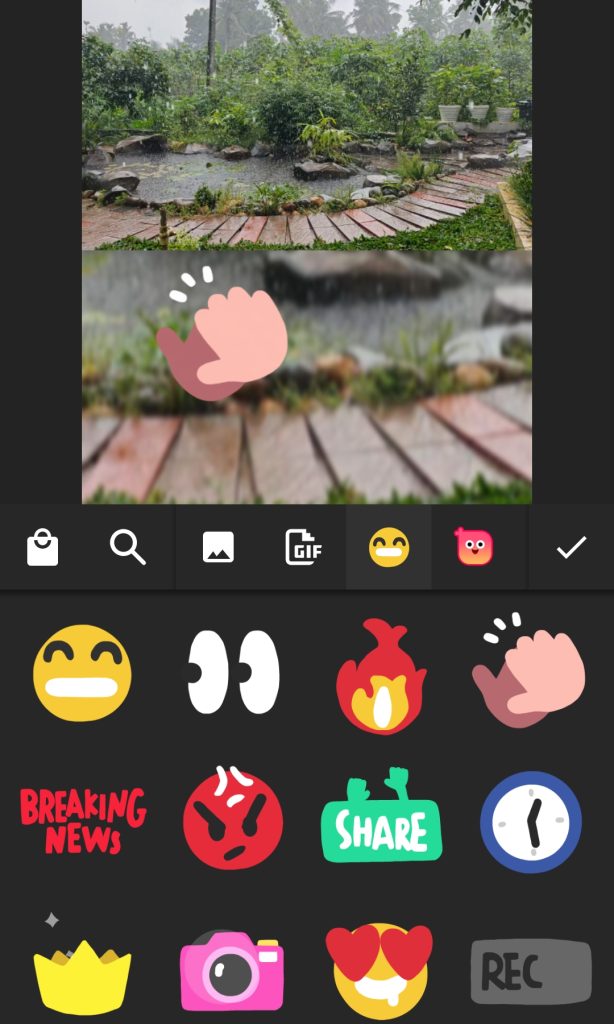
3. Moving Stickers
- Add arrows or emojis that move along with an object in your video.
- For example, place an arrow that follows your pet as it runs across the screen.
4. Creative Transitions
- Use zoom in and zoom out keyframes to transition smoothly between two clips.
- Rotate or slide elements to create unique scene changes.
5. Product or Tutorial Videos
- Highlight a specific feature by zooming in on it.
- Move a text label along with your demonstration to guide viewers.
Pro Tips for Smooth Motion Effects
- Use Easing for Natural Motion
While InShot doesn’t have advanced easing controls like desktop software, you can mimic easing by adjusting the spacing of keyframes. Place them closer together at the start and further apart later to create a natural acceleration. - Keep It Subtle
Avoid overusing keyframes. Subtle movements often look more professional than exaggerated ones. - Combine with Effects
Pair keyframe animations with filters, transitions, and sound effects to make your video even more engaging. - Use Gridlines
Enable gridlines to align your movements perfectly and keep animations balanced. - Experiment
The best way to learn keyframes is by experimenting. Try different motions, preview them, and see what fits your style.
Common Mistakes to Avoid
- Too Many Keyframes – Adding too many unnecessary keyframes can make the animation look chaotic.
- Unnatural Motion – Sudden jumps or jerky movements can distract viewers. Aim for smooth transitions.
- Ignoring Timing – Motion that’s too fast or too slow may feel out of place. Always preview and adjust.
- Overpowering the Content – The animation should support the video’s message, not overshadow it.
Exporting Your Animated Video
Once you’re happy with your animation:
- Tap the Export button at the top-right corner.
- Choose your resolution (720p, 1080p, or higher) and frame rate.
- Save the video to your device or share directly to YouTube, Instagram, or TikTok.
Conclusion
Keyframe animation in InShot is a simple yet powerful way to add smooth motion effects to your videos. By learning how to set starting and ending points, adjust timing, and experiment with creative ideas, you can make your videos look polished and professional.
Whether you’re creating social media content, tutorials, or personal projects, keyframes can help your visuals come alive. With practice, you’ll discover endless possibilities for making engaging, cinematic videos—all from your smartphone.
So, open InShot, pick a project, and start experimenting with keyframe animation today. Your audience will notice the difference!